Home
About Micasa
▾
About Us
Our Process
Leave A Review
Renovations
▾
Kitchen Renovations
Bathroom Renovations
Custom Cabinetry
Kitchen Cabinetry
Office & Closet Cabinetry
Remodeling Gallery
▾
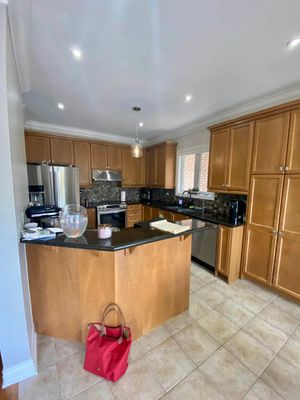
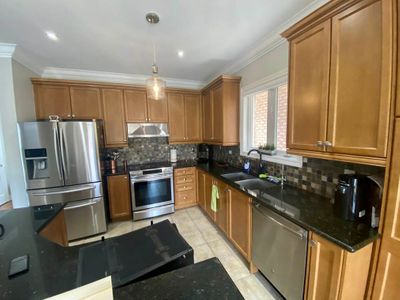
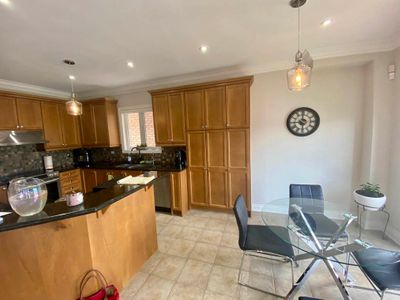
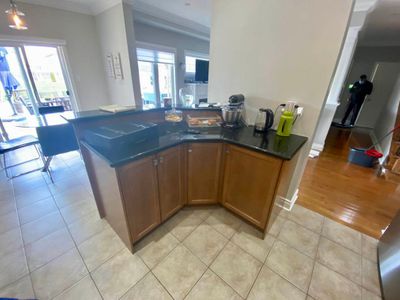
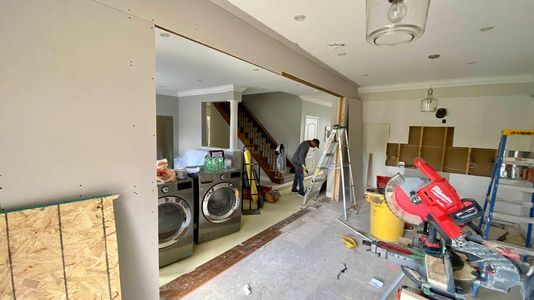
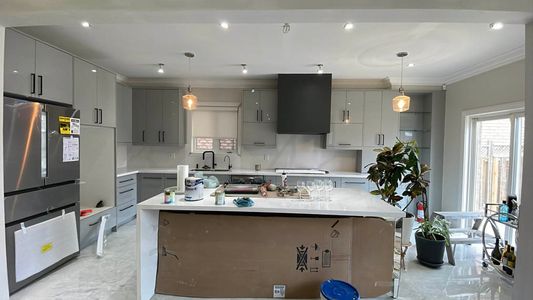
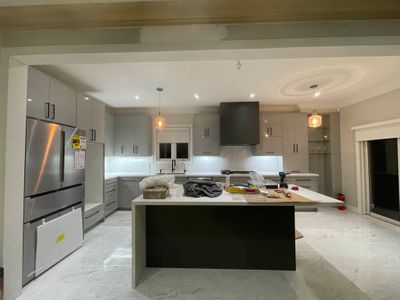
Before & After Gallery
Kitchen Remodeling Gallery
Bathroom Remodeling Gallery
Bar Remodeling Gallery
Closet Remodeling Gallery
Laundry Room Remodeling Gallery
Bookshelf Remodeling Gallery
Financing
BLOG
CALL
CONTACT
Fourth Line
Before and After Gallery